# Using Meshnet on Windows
## Before you begin
Verify that you have the following:
* Windows 10 (a 64-bit edition) or later
* [NordVPN installed](https://support.nordvpn.com/1888230932)
## Enable Meshnet on Windows
To turn on Meshnet on your device, complete these steps:
1. Open **NordVPN**. Log in if necessary.
2. On the left-side menu, select Meshnet:
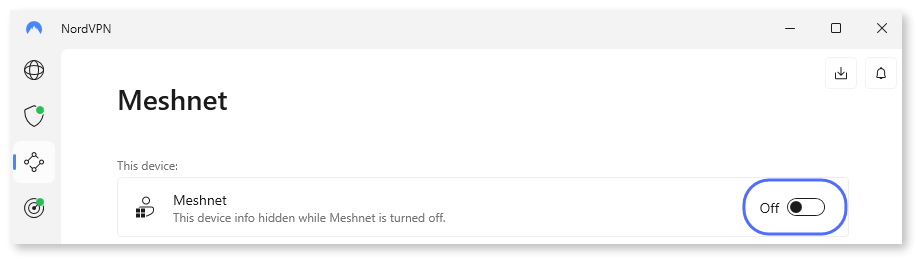
3. Turn on the **Meshnet** toggle.
4. In the dialog that appears, read the details about Meshnet using the **Continue** button to move forward. Alternatively, use the arrow buttons to navigate between pages.
5. Select **Turn on Meshnet**.
When connected to Meshnet, your device is assigned a unique Nord name and a Meshnet IP address, both of which you can use to access the device from other linked devices.
{% hint style="info" %}
**Note**
Nord names are unique, automatically assigned host names for all devices in Meshnet. This feature allows more convenient device access since you don’t have to memorize each device’s Meshnet IP address.
Nord names are composed of three parts and follow this format — `-.nord`, where:
* `` is the username of your Nord Account email address.
* `` is a name of a mountain or mountain range.
For example, `secret.raccoon-alps.nord`.
{% endhint %}
## Add devices to Meshnet
As you start using Meshnet, you may want to connect multiple devices to your Meshnet to unlock its full potential. Expanding your network enhances device communication, enabling seamless [file sharing](https://meshnet.nordvpn.com/~/changes/5hiVtBuK6qwLGxb0SjCm/features/sharing-files-in-meshnet/sharing-files-windows) across your network and [traffic routing ](https://meshnet.nordvpn.com/~/changes/5hiVtBuK6qwLGxb0SjCm/features/routing-traffic-in-meshnet)through a chosen connected device, among other benefits.
You can add devices to your Meshnet in two ways, depending on whether the device is your own or belongs to another NordVPN user.
### Add your own devices
To add more of your devices to your Meshnet:
1. [Install the NordVPN app](https://support.nordvpn.com/FAQ/NordVPN-setup-tutorials/) on the device you want to connect to Meshnet.
2. Log in to your NordVPN account.
3. Turn on Meshnet.
Once you enable Meshnet on your other devices, they should be connected automatically.
### Add external devices
To add an external device, meaning a device owned by another NordVPN user, you need to send an invitation through the NordVPN app specifying their email address. They will receive the invitation on all their devices that have NordVPN installed and Meshnet activated. As soon as the other user accepts the invitation on each device individually, their devices will become part of your Meshnet.
For detailed guidance on adding external devices, refer to [Adding external Meshnet devices on Windows](https://meshnet.nordvpn.com/~/changes/5hiVtBuK6qwLGxb0SjCm/features/linking-devices-in-meshnet/adding-meshnet-devices-on-windows).
## View your Meshnet device list
You can find all your connected devices listed under the **Your devices** tab:
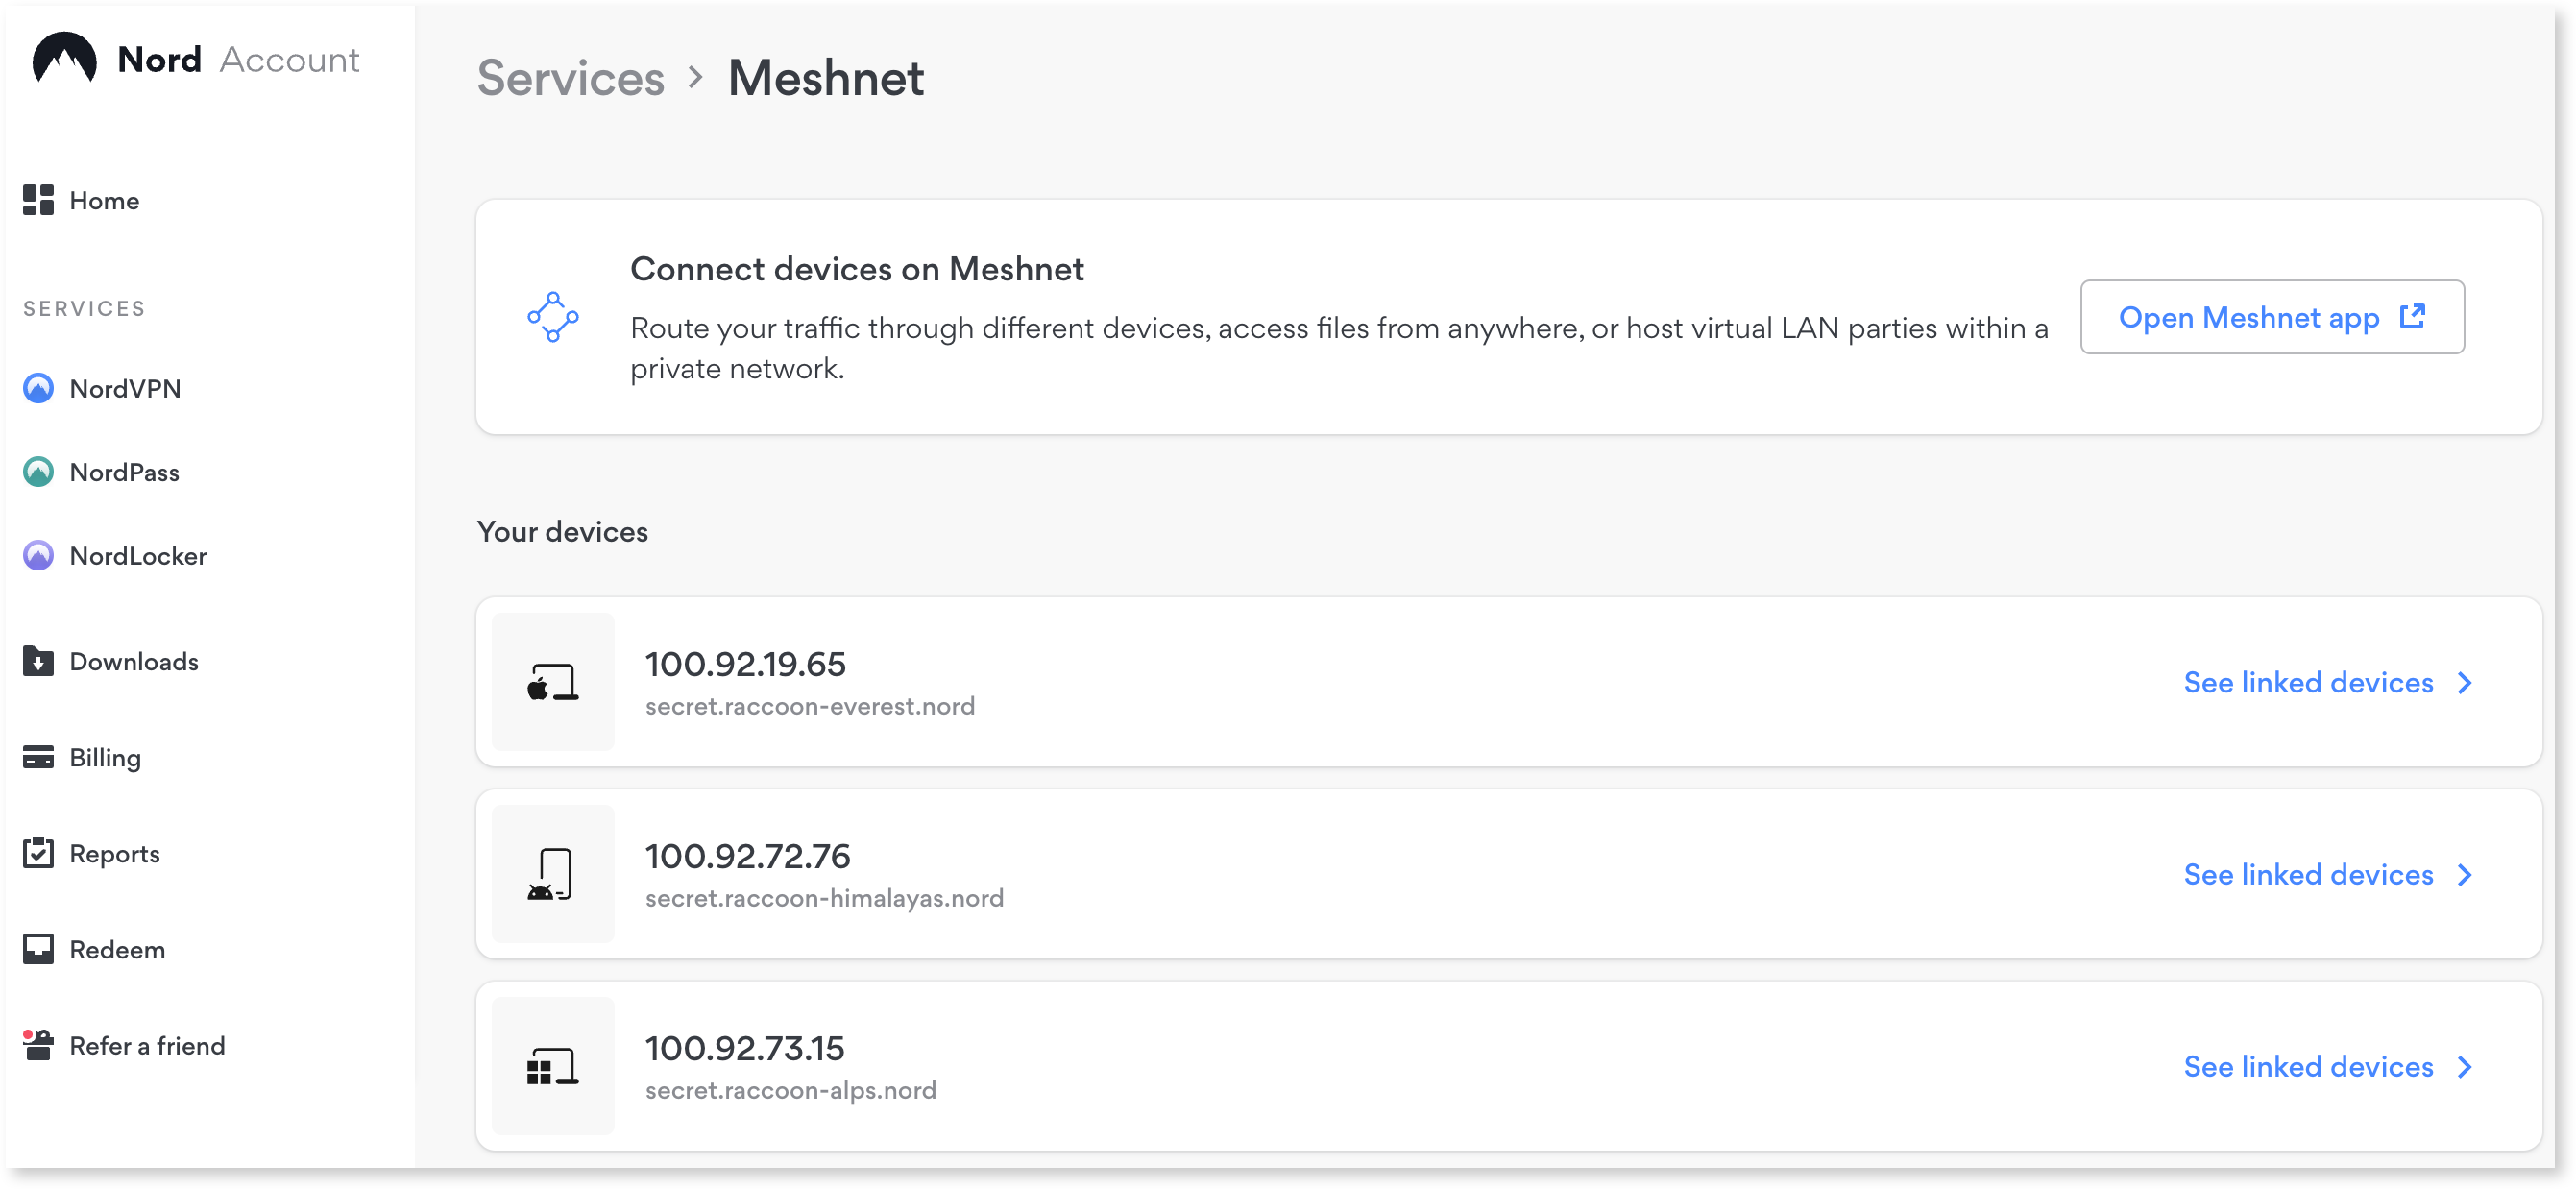
Alternatively, you can view a list of linked devices for each of your devices on the [Nord Account](https://my.ndaccount.com/) website. To access this feature:
1. Log in to your Nord account dashboard.
2. Scroll down to **NordVPN Meshnet free**.
3. Select **View details**.
You should now see a list of your linked devices.
Meshnet allows you to add up to 10 devices that use the same NordVPN account.
## Remove linked devices from Meshnet
If you need to unlink your device from Meshnet, you have the option to do so from:
* The NordVPN app
* Your Nord account dashboard
### Unlinking devices via the app
1. Open **NordVPN**.
2. On the **Meshnet** tab, under **Your devices**, select the device you want to disconnect.
3. Click the **Unlink device** button next to the device name.
4. Confirm that you want to unlink the device by clicking **Unlink**.
### Unlinking devices via the Nord Account dashboard
1. Go to the [Nord Account](https://my.ndaccount.com/) website and log in to your NordVPN account.
2. Scroll down to **NordVPN Meshnet free**.
3. Select **View details**.
4. Find the device that you want to remove another device from and select **See linked devices** next to it.
5. Next to the name of the device you want to remove, click **Unlink device**.
6. Confirm that you want to unlink the device by clicking **Unlink**.
{% hint style="success" %}
**Tip**
To link the device back, restart Meshnet on the unlinked device.
{% endhint %}
## See also
For insights on how you can manage device access within your network, see [Explaining Permissions](https://meshnet.nordvpn.com/~/changes/5hiVtBuK6qwLGxb0SjCm/features/explaining-permissions).