# How to assign custom host names to Meshnet services with a reverse proxy
## Introduction
As the popularity of self-hosted services continues to grow, so does the challenge of managing multiple IP addresses, host names, and port numbers. It can quickly become overwhelming to keep track of which port number to enter for services like [Home Assistant](https://meshnet.nordvpn.com/~/changes/5hiVtBuK6qwLGxb0SjCm/how-to/remote-access/home-assistant), [Jellyfin](https://meshnet.nordvpn.com/~/changes/5hiVtBuK6qwLGxb0SjCm/how-to/remote-files-media-access/access-jellyfin-media-sever-remotely), or [OpenMediaVault](https://meshnet.nordvpn.com/~/changes/5hiVtBuK6qwLGxb0SjCm/how-to/remote-files-media-access/remote-openmediavault-nas).
While a custom [DNS server](https://nordvpn.com/blog/what-is-dns/) can help overcome the problem of remembering the IP addresses or host names of your peer devices, it's not enough to handle requests that need to be forwarded to a specific port number. This is where a [reverse proxy](https://www.cloudflare.com/learning/cdn/glossary/reverse-proxy/), such as the [Nginx proxy manager](https://nginxproxymanager.com/guide/) (NPM), can come in handy. With NPM, you can easily create reverse proxies without needing prior networking knowledge. By combining a custom DNS server with NPM, you can eliminate the need to remember and enter port numbers altogether.
This article showcases the process of setting up the Nginx proxy manager alongside a DNS server to create custom host names for your [Meshnet](https://nordvpn.com/meshnet/) services, simplifying their management.
## Prerequisites
Before you begin the setup process, make sure that:
* You have [Docker](https://docs.docker.com/get-started/overview/) and [Docker Compose](https://docs.docker.com/compose/) installed on your system.
* [Docker Desktop instructions for Windows](https://docs.docker.com/desktop/install/windows-install/)
* [Docker Desktop instructions for macOS](https://docs.docker.com/desktop/install/mac-install/)
* [Docker Desktop Instructions for Linux](https://docs.docker.com/desktop/install/linux-install/)
* [Docker Engine instructions for Linux (CLI only)](https://docs.docker.com/engine/install/)
* [Docker Compose instructions for Linux (CLI only)](https://docs.docker.com/compose/install/linux/)
* You have a custom DNS server set up on your network. For example, [AdGuard Home](https://meshnet.nordvpn.com/~/changes/5hiVtBuK6qwLGxb0SjCm/how-to/security/protect-network-with-adguard-home).
* You have changed the DNS addresses of your devices to your custom DNS server.
* Port 80 is not in use by any service on your system.
## Creating DNS rewrites
{% hint style="info" %}
**Note**
For this configuration, a standard AdGuard Home installation is used as an example DNS server. If you are running your DNS server using Docker, the steps may differ.
{% endhint %}
To start, you need a way to create DNS rewrites from a custom host name to a specific IP or host name. While this can be achieved by editing your operating system’s `hosts` file, a much more convenient and easily manageable alternative is a custom DNS server.
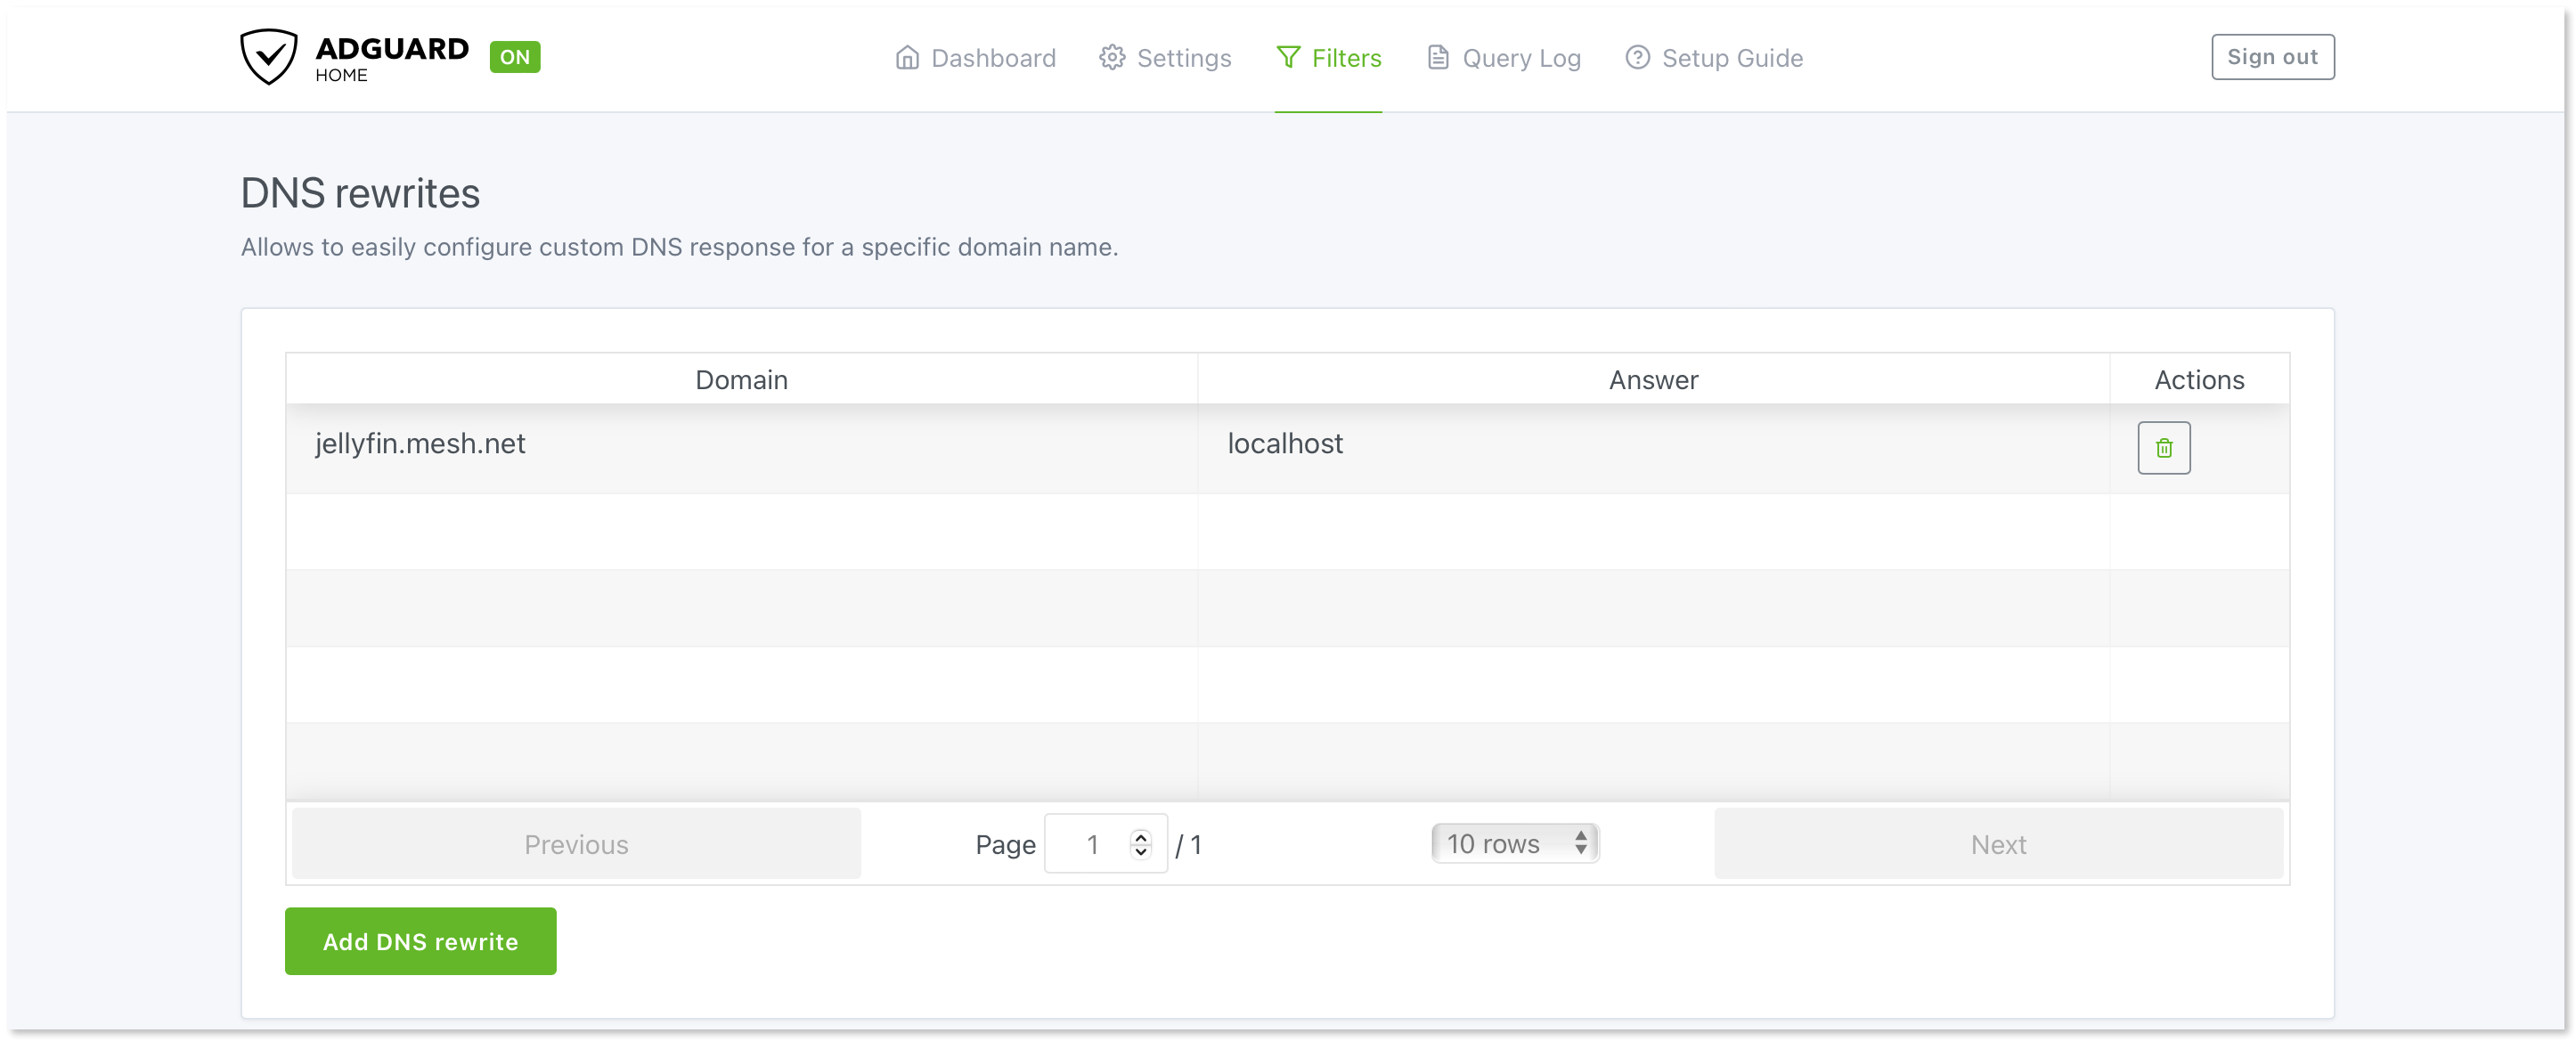
To create a DNS rewrite using AdGuard Home:
1. Open your AdGuard Home web interface.
2. From the menu bar, select **Filters** > **DNS rewrites**.
3. Click **Add DNS rewrite**.
4. In the pop-up window, fill in the following information:
* In the upper field, enter a custom host name that you want to use to access a specific service.
* In the lower field, enter `localhost`.
**Example**

5. Click **Save**.
You should now see a new entry in the **DNS rewrites** table. Repeat this procedure for any other host names you want to create.
{% hint style="success" %}
**Tip**
AdGuard Home supports [wildcard domain names](https://en.wikipedia.org/wiki/Wildcard_DNS_record). You can use the format `*.example.com` to redirect all subdomains of `example.com`. This way, you don’t have to add new DNS entries for each service.
{% endhint %}
## Setting up the Nginx proxy manager
With the DNS rewrites created, you can deploy your Nginx proxy manager instance. To set up NPM, you need to use Docker Compose.
### Create a Docker Compose file
First, you need to create a [Docker Compose file](https://docs.docker.com/compose/compose-file/03-compose-file/) containing instructions for NPM.
{% tabs %}
{% tab title="Windows" %}
1. Open **PowerShell**.
2. Create a new folder called `nginx-proxy-manager` and navigate to it using this command:
```bash
mkdir nginx-proxy-manager && cd nginx-proxy-manager
```
3. Create a `docker-compose.yml` file and open it using Notepad with the following command:
```bash
notepad docker-compose.yml
```
4. In the Notepad window, paste the following information that specifies the NPM docker image, publishes the required ports, and creates two new folders in your working directory.
```yaml
version: '3.8'
services:
app:
container_name: nginx-proxy-manager
image: 'jc21/nginx-proxy-manager:latest'
restart: unless-stopped
ports:
- '80:80'
- '443:443'
- '81:81'
volumes:
- ./data:/data
- ./letsencrypt:/etc/letsencrypt
```
5. Press **Ctrl** + **S** to save changes.
6. Exit Notepad.
{% endtab %}
{% tab title="macOS and Linux" %}
1. Open **Terminal**.
2. Create a new folder called `nginx-proxy-manager` and navigate to it using this command:
```bash
mkdir nginx-proxy-manager && cd nginx-proxy-manager
```
3. Create a `docker-compose.yml` file and open it using the Nano text editor with the following command:
```bash
nano docker-compose.yml
```
4. In the terminal window, paste the following information that specifies the NPM docker image, publishes the required ports, and creates two new folders in your working directory.
```yaml
version: '3.8'
services:
app:
container_name: nginx-proxy-manager
image: 'jc21/nginx-proxy-manager:latest'
restart: unless-stopped
ports:
- '80:80'
- '443:443'
- '81:81'
volumes:
- ./data:/data
- ./letsencrypt:/etc/letsencrypt
```
5. Press **Ctrl** + **X**, **Y**, and **Enter** to save changes and exit.
{% endtab %}
{% endtabs %}
### Deploy NPM
With the Compose file created, while in the `nginx-proxy-manager` directory, execute the following command in the command line to create your NPM instance:
```bash
docker-compose up -d
```
Docker will [pull the NPM image](https://docs.docker.com/engine/reference/commandline/pull/) from Docker Hub and create the container.
### Log in to your NPM web interface
Once the container is active, you can visit the NPM web interface.
1. Open your internet browser.
2. In the URL bar, enter `localhost:81/` and press **Enter**.
3. Log in using the default email (`admin@example.com`) and password (`changeme`).
After logging in, you will be asked to change the details of your account. Follow the on-screen instructions to update your credentials.
### Create proxy redirects
Finally, you can create a proxy redirect for your created host name to reach a specific service.
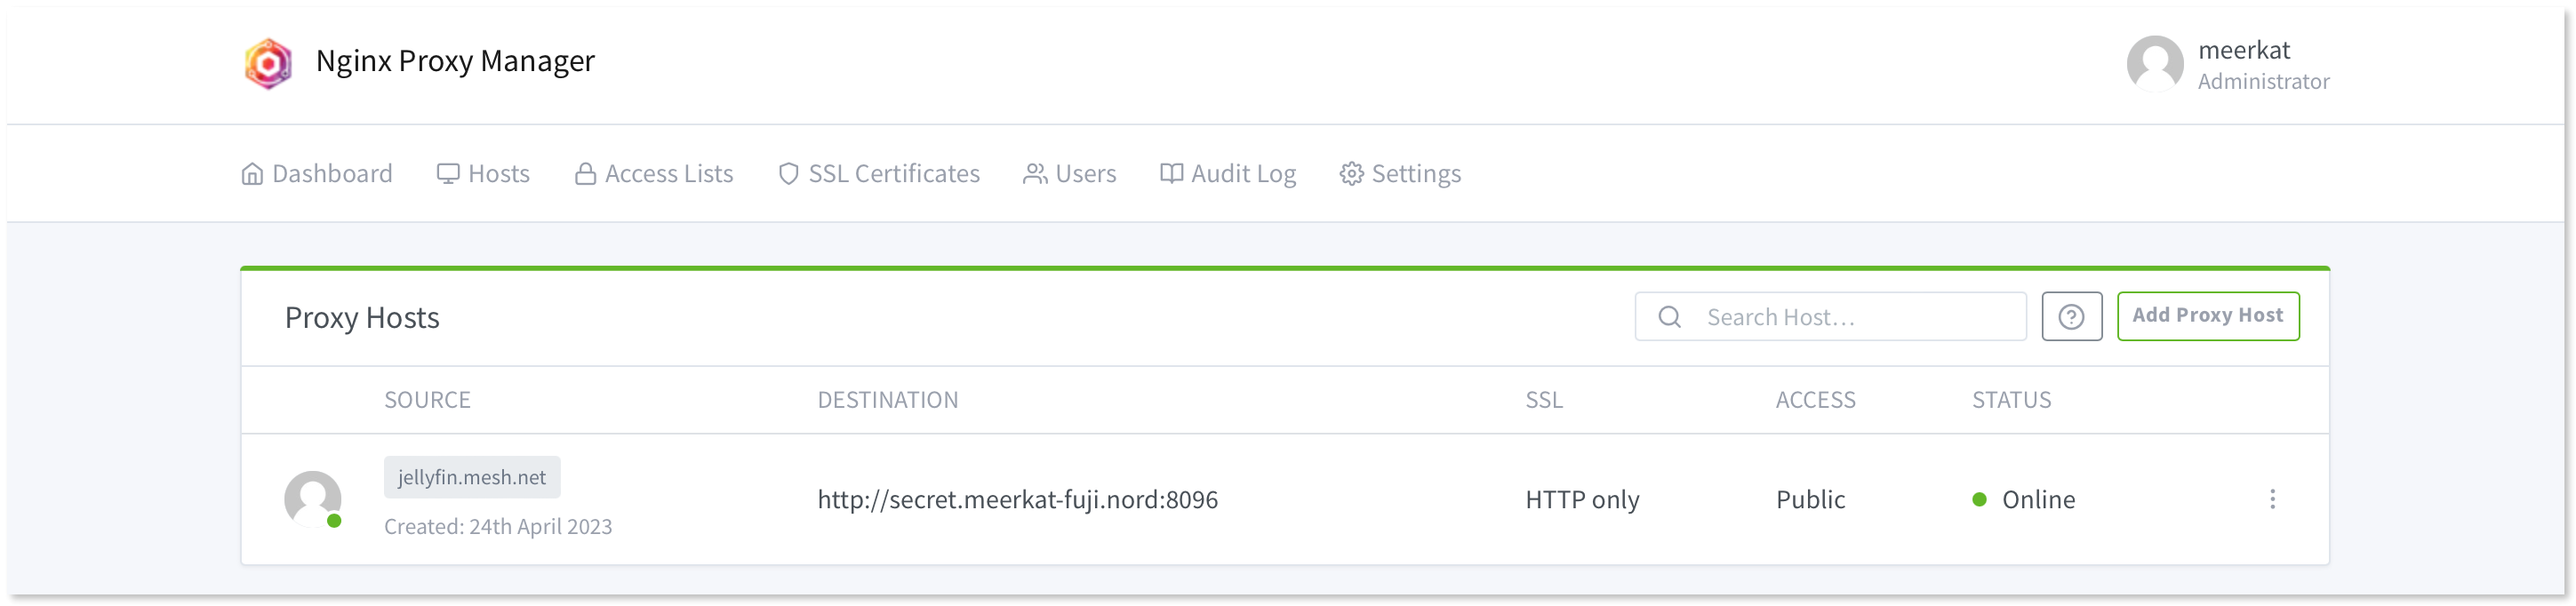
1. From the NPM dashboard, select **Proxy hosts**.
2. Click **Add proxy host**.
3. In the new window, specify the following information:
* In the **Domain names** field, enter the custom host name you created in the [Creating DNS rewrites](#creating-dns-rewrites) section.
* In the **Forward hostname / IP** field, type in the Nord name or the Meshnet IP address of your Meshnet peer device.
* In the **Forward port** field, enter a port number that the peer device’s service is using.\
\
**Example**

4. Click **Save**.
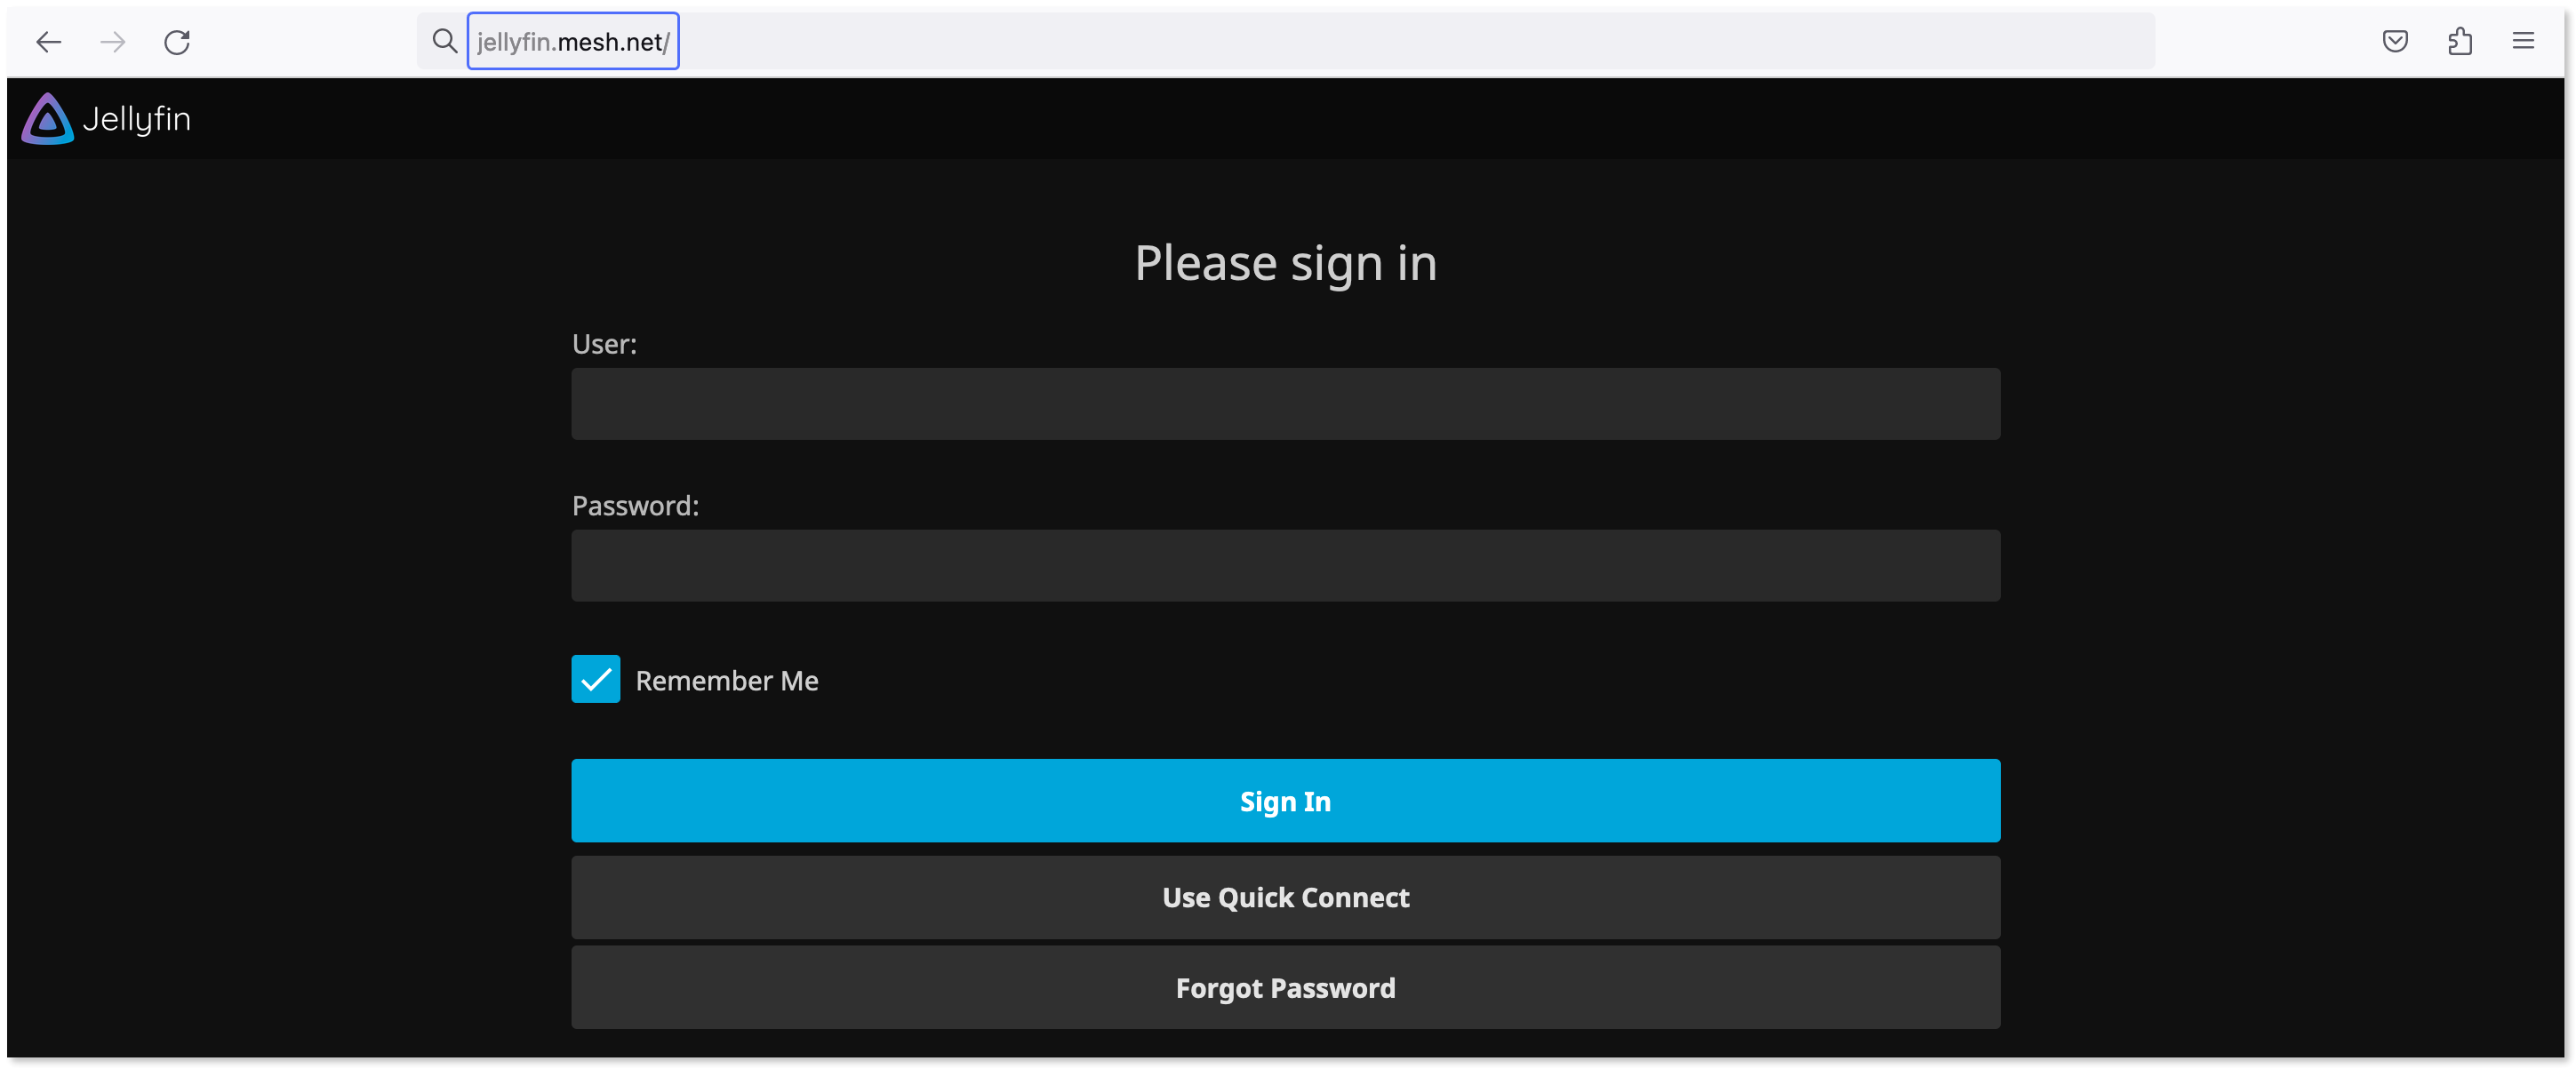
You should see a new entry for your proxy appear in the **Proxy** **hosts** table.
Now you can access your Meshnet services without needing to specify the Nord name or the port that you want to reach.