# How to set up a private Minecraft server with Meshnet
## Introduction
Minecraft is one of the most popular multiplayer online games. To [enjoy the full gaming experience of Minecraft](https://nordvpn.com/gaming/minecraft/), you can create your own server and invite friends to join your world.
However, running a public Minecraft server may present a security threat to your home network. The risks you might encounter range from DDoS attacks to unfamiliar devices accessing your network.
With [Meshnet](https://nordvpn.com/meshnet/), you can set up your private Minecraft server and connect to it from anywhere in the world safely. Instead of having to open ports and expose your IP address to strangers online, you and your friends can connect your devices to Meshnet, which in essence, acts as a local area network but with an encrypted VPN tunnel. Also, you won't have to pay for third-party hosting with Meshnet.
## Get started: What’s your Minecraft edition?
Currently, there are two separate versions of Minecraft: Bedrock Edition and Java Edition. While both editions support online multiplayer mode, they are compatible with different servers. This means that you will use different server software depending on the game edition you are playing.
This guide walks you through the process of creating a Minecraft server with Meshnet for both editions on the following platforms:
## Create a Minecraft Bedrock server on Windows and Linux
The official Minecraft Bedrock server software supports Windows and Linux.
{% tabs %}
{% tab title="Windows" %}
### Before you begin
Ensure that the machine that will host the server meets these minimum requirements:
* Windows 10 or later or Windows Server 2016 or later
* 64-bit Intel or AMD processor with at least two cores
* 1 GB of RAM or more
* Meshnet is enabled on your server machine. To learn more, see our guide on [Using Meshnet on Windows](https://meshnet.nordvpn.com/~/changes/Ppg3bMoVHwMks6LohjqQ/getting-started/how-to-start-using-meshnet/using-meshnet-on-windows).
Other players will be able to connect to your Bedrock server if these conditions are met:
* A player's game is Minecraft: Bedrock Edition.
* The game version matches the version of your server.
{% hint style="info" %}
**Note**
All the client devices you would like to invite to join your server need to be connected to your Meshnet.
{% endhint %}
### Download server software
Go to Minecraft's official website and download [Minecraft Dedicated Server Software for Windows](https://www.minecraft.net/en-us/download/server/bedrock).
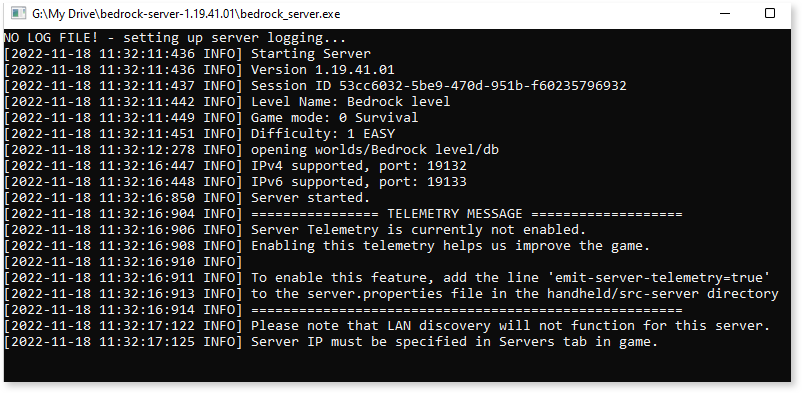
### Run your Bedrock server
1. Unzip the downloaded archive.
2. Double-click the **bedrock\_server.exe** file.
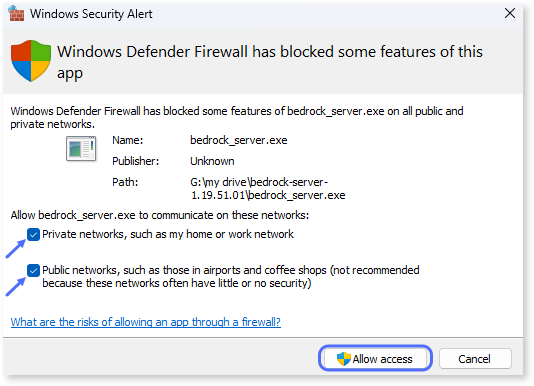
3. If the **Windows security alert** box appears, select both the *private* and *public* networks options, and then click the **Allow access** button to allow incoming connections through the firewall.
{% hint style="success" %}
**Tip**
If you want to check your firewall settings for the Bedrock server, click the **Start** button on the taskbar, type **Allow an app through Windows Firewall** and find *bedrock\_server.exe* in the list of results.
{% endhint %}
Your Bedrock server should now be up and running.
{% hint style="info" %}
**Note**
If you encounter connection issues, you may need to exempt the Minecraft client from UWP loopback restrictions. To do this, open **Windows PowerShell** or **Command Prompt** as an administrator and enter the following:
CheckNetIsolation LoopbackExempt -a -n="Microsoft.MinecraftUWP_8wekyb3d8bbwe"
Alternatively, you can enter the command provided in the *bedrock\_server\_how\_to* file:
CheckNetIsolation LoopbackExempt -a -p=S-1-15-2-1958404141-86561845-1752920682-3514627264-368642714-62675701-733520436
{% endhint %}
{% endtab %}
{% tab title="Linux" %}
### Before you begin
Ensure that the machine that will host the server meets these minimum requirements:
* Ubuntu 18 or later
* 64-bit Intel or AMD processor with at least two cores
* 1 GB of RAM or more
* Meshnet is enabled on your server machine. To learn more, see our guide on [Using Meshnet on Linux](https://meshnet.nordvpn.com/~/changes/Ppg3bMoVHwMks6LohjqQ/getting-started/how-to-start-using-meshnet/using-meshnet-on-linux).
Other players will be able to connect to your Bedrock server if these conditions are met:
* A player's game is Minecraft: Bedrock Edition.
* The game version matches the version of your server.
{% hint style="info" %}
**Note**
All the client devices you would like to invite to join your server need to be connected to your Meshnet.
{% endhint %}
### Download server software
1. Open the terminal.
2. Update the package manager list of available packages by running the following command:
```bash
sudo apt update
```
3. Navigate to the directory where you want to install your server. To do this, type `cd` followed by the path to your directory, like this:
```bash
cd ~/Desktop
```
4. Create a new folder to store your server files. To do this, enter the `mkdir` command and specify the desired folder name. For example:
```bash
mkdir server
```
5. Change the current directory to this new folder:
```bash
cd server
```
6. Go to [Minecraft's official website](https://www.minecraft.net/en-us/download/server/bedrock), find the "Minecraft Dedicated Server Software for Ubuntu (Linux)" section, and then right-click the **Download** button and copy the link address of the server archive.
7. In the terminal, enter the `wget` command, and paste the copied link, as follows:
### Run your Bedrock server
1. Extract server files from the downloaded archive by entering the `unzip` command, like this:
```bash
unzip bedrock-server-1.19.41.01.zip
```
\
If the `unzip` command does not work, you may need to install the unzip package by entering `sudo apt install unzip`.
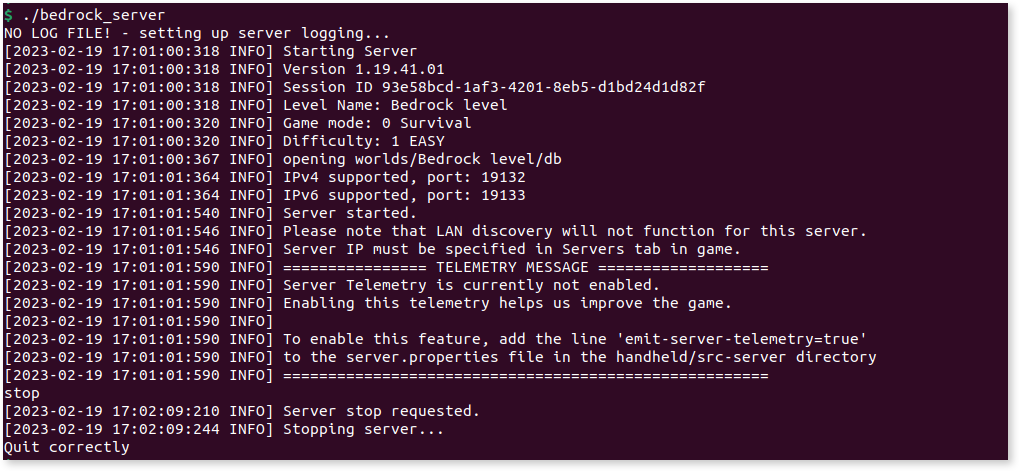
2. Enter the following to start the server:
```bash
./bedrock_server
```
\
Use this command each time you want to start the server.
Your Bedrock server should now be up and running.
{% endtab %}
{% endtabs %}
{% hint style="success" %}
**Tip**
To configure the server to your liking, find the `server.properties` file in the unzipped server folder and edit the file with any text editor. The changes will take effect after you restart the server.
To stop the server, you can enter the `stop` command.
{% endhint %}
### Connect to your Bedrock server
1. Make sure that the device on which you play the game has the NordVPN app running and the Meshnet feature is enabled in the app.
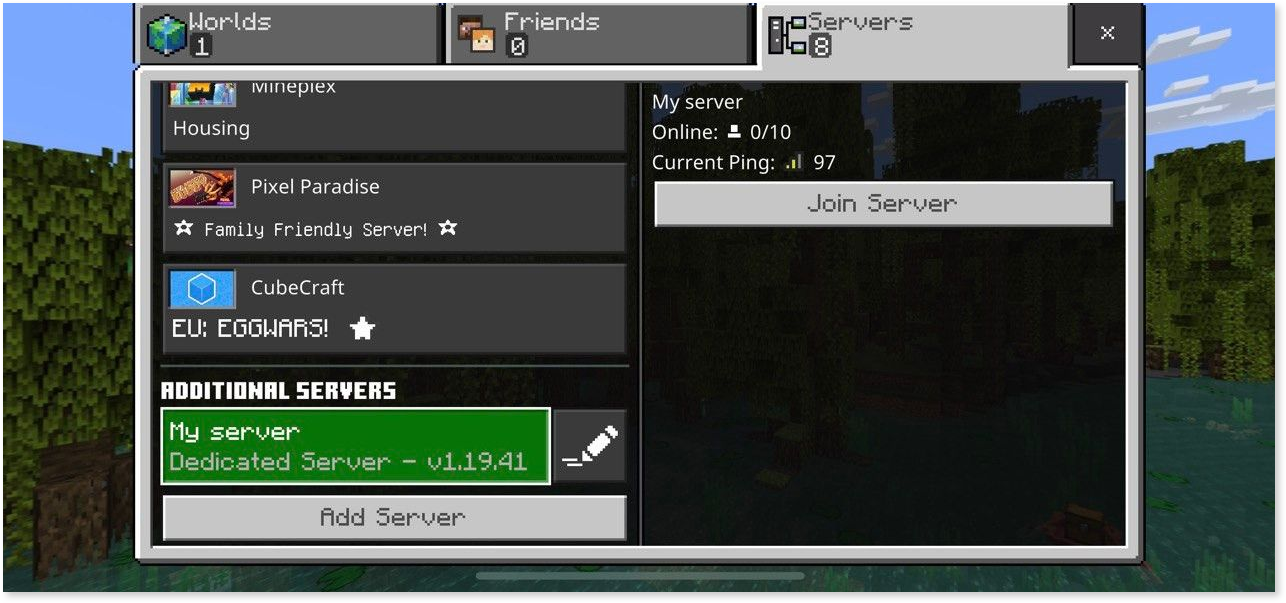
2. Open your Minecraft game, select the **Play** button, and then select the **Servers** tab.
3. Scroll to the bottom of the servers list and select the **Add server** button.
4. In the **Server name** box of the dialog that appears, enter the name you want.
5. In the **Server address** box, enter the Meshnet IP address of the machine on which your server is running. Select **Save**. \
Your server will appear under **Additional servers**.
### Invite friends
Now that you've created your Minecraft server, you can invite other players to join your game.
1. To connect to your server, your friends need to know the Meshnet IP address of your server machine and have Meshnet enabled on their devices.
2. Once the other players repeat the steps described in the [Connect to your Bedrock server](#howtomakeaprivateminecraftserverwithmeshnet-step3winstep3-connecttoyourbedrockserver) section above, they will gain access to your server.\
{% hint style="info" %}
**Note**
Minecraft regularly releases Bedrock server software updates. If you get a message stating that your server is outdated, you’ll need to upgrade the server to the latest version. Otherwise, you will not be able to connect to your server.
Because the server files will be replaced after your upgrade is complete, you may wish to have a backup copy of the `server.properties` file if it contains extensive custom changes.
{% endhint %}
## Create a Minecraft Java server on macOS
The official Minecraft Java server software supports various platforms, including macOS, Windows, and Linux. This guide covers setting up a Java server on macOS.
### Before you begin
Ensure that the machine that will host the server meets these minimum requirements:
* Java 17 or later is installed. On [Oracle's website](https://www.oracle.com/java/technologies/downloads/#jdk19-mac), select **Arm 64 DMG installer** if your Mac is ARM-based or **x64 DMG installer** if your Mac uses Intel. \
To check if Java is installed on your machine, open the **Terminal** app and type `java -version`.
* 64-bit Intel or AMD processor with at least two cores
* 1 GB of RAM or more
* Meshnet is enabled on your server machine. To learn more, see our guide on [Using Meshnet on macOS](https://meshnet.nordvpn.com/~/changes/Ppg3bMoVHwMks6LohjqQ/getting-started/how-to-start-using-meshnet/using-meshnet-on-macos).
{% hint style="info" %}
**Note**
All the client devices you would like to invite to join your server need to be connected to your Meshnet.
{% endhint %}
Other players on your Meshnet will be able to connect to your Java server if these conditions are met:
* A player's game is Minecraft: Java Edition.
* The game version matches the version of your server.
### Download server software
1. Download the [minecraft\_server.jar](https://www.minecraft.net/en-us/download/server) file from Minecraft’s official website.
2. Create a new folder on your Desktop or in any location you can easily find and name your folder as you wish (for example, *server*). You will use this name to run commands for the server.
3. Move the downloaded JAR file to your new folder. This folder will store your server files.
### Run your Minecraft Java server
1. Open **Terminal**, and type `cd` followed by the path to the folder containing your server JAR file, like this:
```bash
cd Desktop/server
```
\
If requested, allow the Terminal app to access the folder.
2. Then type:
```bash
java -jar server.jar
```
\
Your server will generate several files in the server folder.
3. Navigate to your server folder, open the *eula.txt* file, and change `eula=false` to `eula=true`. Save the file. This way, you confirm the acceptance of license terms for the Minecraft server software.
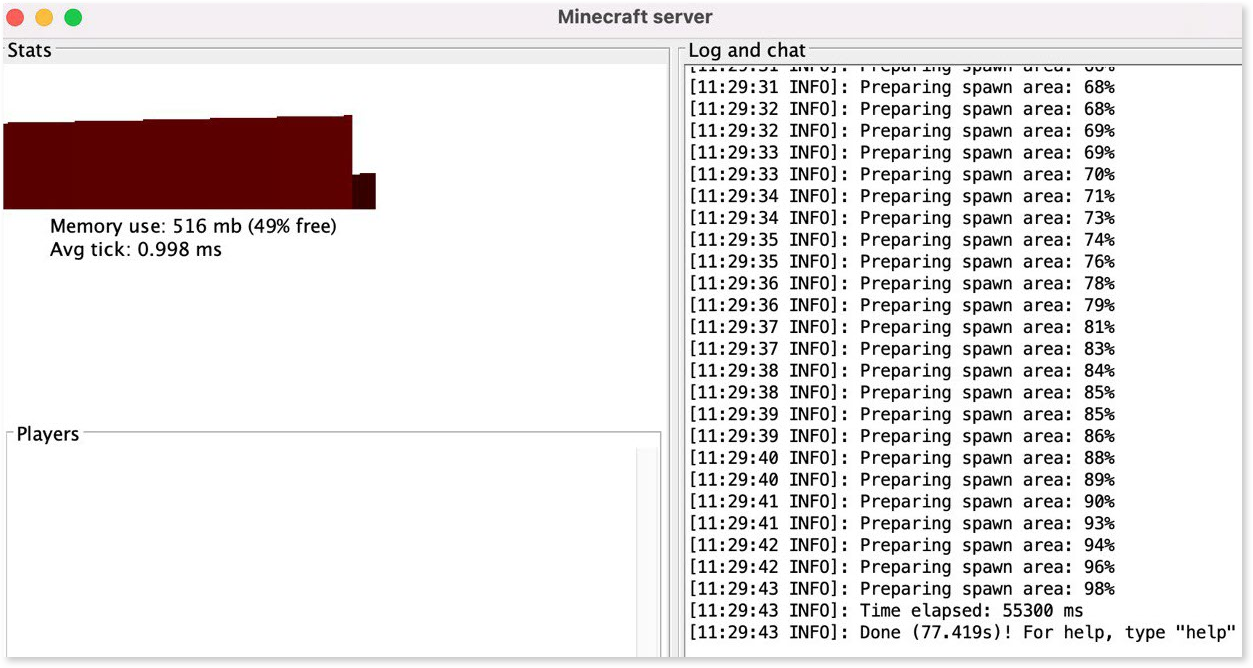
4. Now you can run the server. Open the **Terminal** app, type `java -jar server.jar` again, and press **Return**.\
If you want to start the server without its graphical user interface, add a space and `--nogui` to the command.\
{% hint style="success" %}
**Tip**
Use the `java -jar server.jar` command each time you want to start the server.
To stop the server, enter the `stop` command at the Minecraft server command prompt.
{% endhint %}
### Connect to your Minecraft Java server
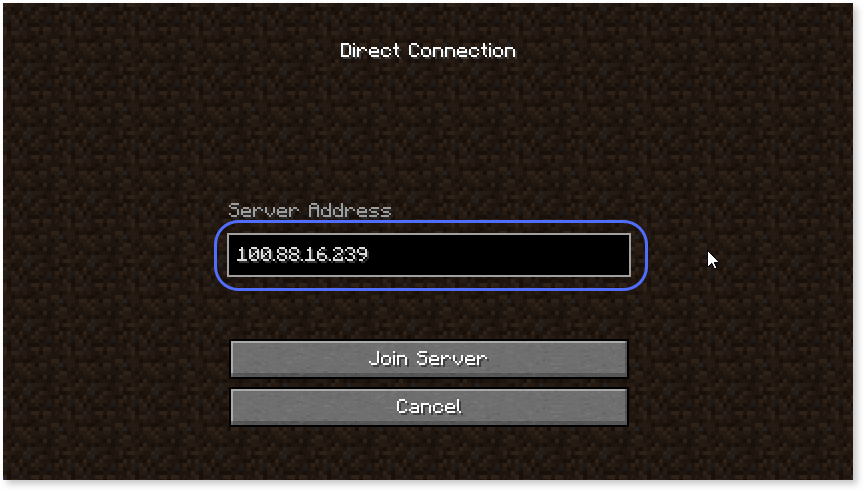
1. Make sure that the device on which you play the game has the NordVPN app running and the Meshnet feature is enabled in the app.
2. Open your Minecraft game, click the **Multiplayer** button, and then click **Direct connection**.
3. In the **Server address** box, enter the Meshnet IP address of the machine on which your server is running.
4. Click **Join Server**.
### Invite friends
Now that you’ve created your Minecraft server, you can invite other players to join your game.
1. To connect to your server, your friends need the Meshnet IP address of your server machine and Meshnet enabled on their devices.
2. Once other players on your Meshnet repeat the steps described in the [Connect to your Minecraft Java server](#step-3-join-your-bedrock-server) section above, they will gain access to your server.